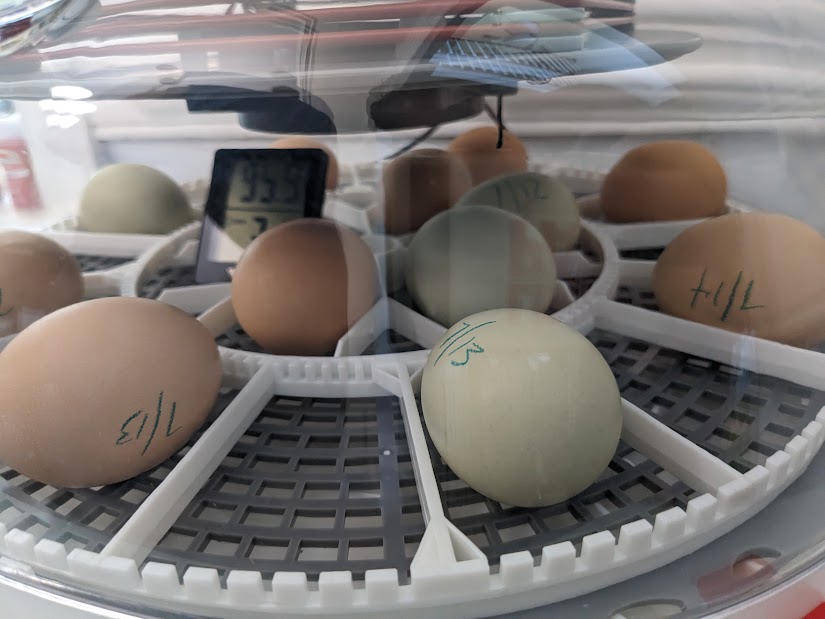
Okay, the incubator is set up and now we are going to talk about how to hatch eggs.
This is where the fun begins. The eggs will turn throughout the day just as the hen would turn her eggs in the nest. Isn’t that amazing? Learning how to hatch chicken eggs will be fun!
During the first seven days, all you need to do is monitor the temperature and humidity levels. Something I learned was to add water to the reservoir once per day. This will help when you go to bed at night, knowing enough water should be in the incubator to cover those hours you aren’t monitoring. I woke up a couple of times to my humidity at 25% yikes! Once you add water to the reservoir, it should go back up quickly. Also, don’t panic! Think about when the hen is laying on her eggs and needs to get up daily to eat and drink. Those eggs lose that temperature and humidity while she is gone. So, I think we are good.
Candle those chicken eggs!
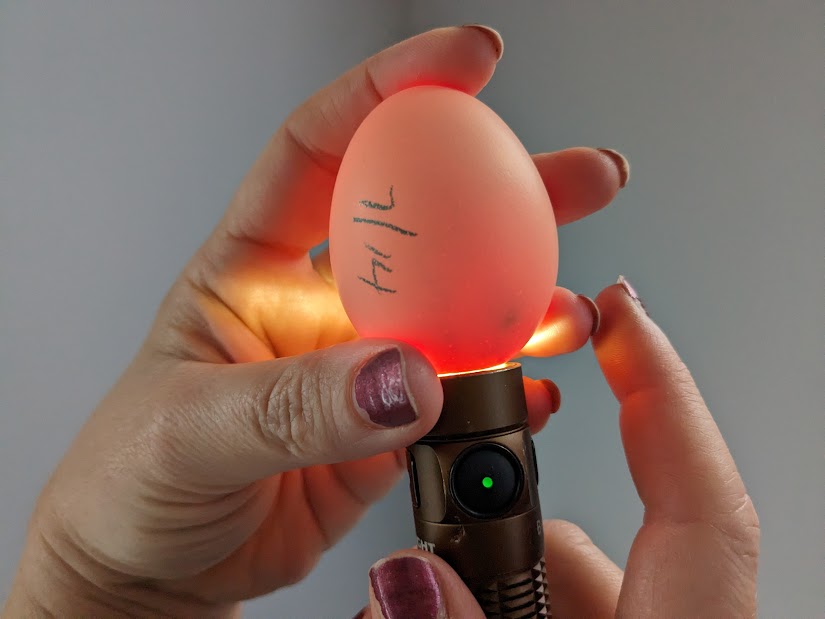
Day seven was magical! We candled the eggs for the first time. Candling the egg is where you either use the candling light on the incubator or a strong flashlight. This time, we went with the tactical flashlight. Carefully lift the incubator lid and place it to the side. Make sure the room is as dark as possible. Place the egg, large side down, on the flashlight. This is where you can see if there has been any development. Now, dark eggs are difficult. The dark brown eggs and the green eggs were trickier than the light brown eggs we had. You want to see an air sac. It will be pretty clear and should be at the larger end of the egg. You can also see veins throughout the egg and a dark black dot. That dot is the eye! If your egg does not have the air sac and appears clear, it’s most likely stopped development quickly after starting. You could keep it in the incubator until the next candling in case it’s a late bloomer. I kept everything in because it was my first hatch and I wanted to be sure. This was all part of learning how to hatch chicken eggs.

They are growing!
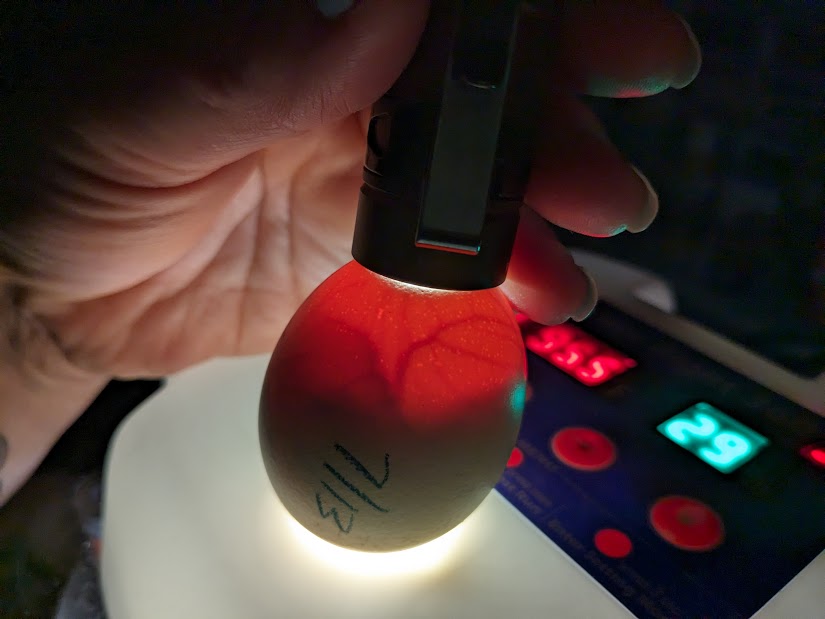
Day 16 was even better! We candled the eggs again to make sure they were continuing to develop. This time we used the light on the incubator, placed the egg a large side down and then placed the tactical flashlight through the top of the egg. It was an incredible sight! The air sac was bigger (which is what you want to see). The air sac is what the chick will poke through to get their first breath of air, so we want that to grow. We could still see the veins and the chick was taking up half of the egg. We saw movement also! Below is a picture of what we found. At this time, 9 of the 12 eggs looked this way. Two eggs were too hard to see (they were green eggs), and one looked like it stalled with development. We put all the eggs back in any way. At this stage, the egg turner is still turning throughout the day. Temperature is between 99.5 and 100.5 and humidity is between 50%-55%.

The second candling made this even more exciting and we cannot wait for the hatching to begin! Stay tuned for our next post on how to hatch chicken eggs part 2!


Leave a Reply