With all the excitement of bringing baby chicks home, nurturing them, and watching them grow, have you thought that maybe it was time to hatch your own eggs? The first step is buying and setting up the incubator.
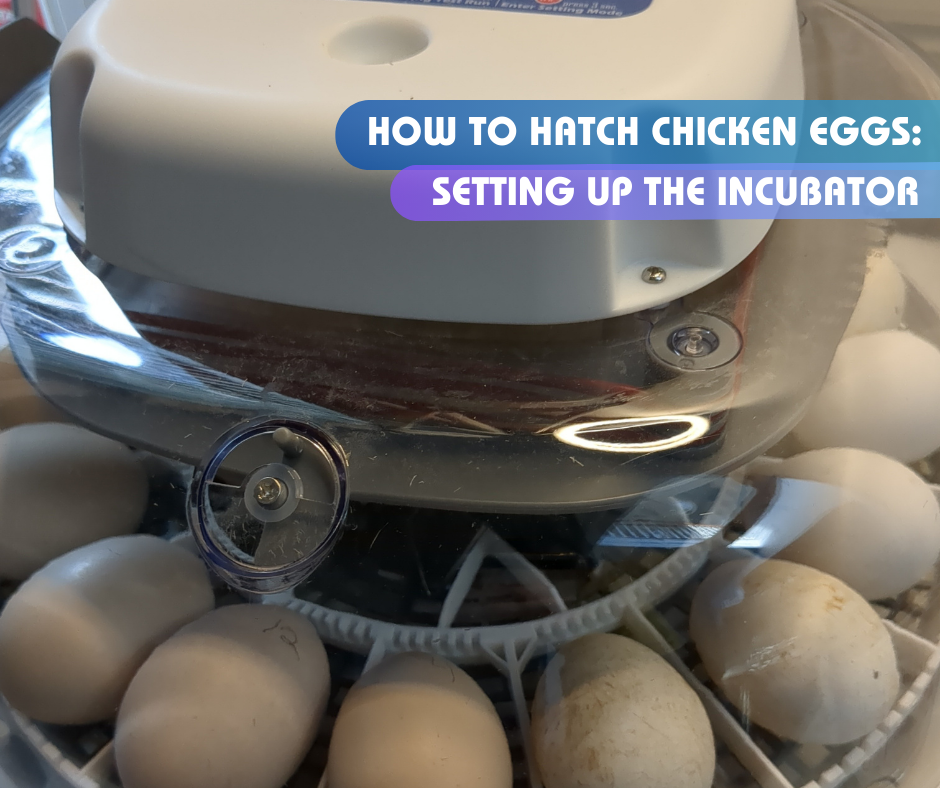
That’s me! I have brought home lots of chicks and ducklings and now I’m ready to try hatching myself. I found an incubator, the Manna Pro Nurture Right 360, on Amazon on a lightning deal. It was recommended several times by folks on the Facebook groups I follow for all things chicken. You can also buy it at TSC, eBay, or possibly on Facebook Marketplace. I like this incubator because it has a temperature and humidity gauge on it, you can add water as needed and just monitor easily. It also has an egg turner that automatically starts at the beginning of incubation and stops at lockdown.
So I got my incubator, what about the eggs? You can buy eggs from an online hatchery and have them shipped to your house, or you can find them locally. I got them locally from The Littles Oasis Hatchery, which is where I bought ducks, plus, Megan is super helpful in answering all my questions. I bought 12 beautiful hatching eggs, brought them home, then started the process.
Here are the steps I took to get started setting up the incubator:
- Set up the incubator: once you unbox it, set it up, turn it on, and let it run for 24 hours before setting the eggs. That way you know it is working appropriately. Set the temp to the recommended 99.5. Don’t worry, your eggs will be fine sitting in the carton for another 24 hours. Eggs are good to sit for 10 days before incubation. Though the sooner the better for the hatch rate.
- Find a good location in your home: You want the incubator to be in a seen location so you don’t forget about it. Do not place it near drafty windows or vents. This can make it harder for the incubator to keep up with the temperature and the humidity. Also, do not pick a high-traffic area to reduce possibly hitting or knocking the incubator over.
- Set the eggs: Setting the eggs is a term for simply placing the eggs into the incubator. The pointy end of the eggs faces inward toward the center of the incubator.
- Temperature and humidity: Before I placed the top back onto the incubator, I put a separate temperature and humidity gauge inside the incubator just in case the displays weren’t accurate on the incubator.
- Close it up: Make sure to place the lid on properly so that it is closed all the way so heat and humidity do not escape.
I would make sure you had a separate temperature and humidity gauge to place inside the incubator. I’m glad I took that advice as my temperature was off by 1 degree. The temperature needed is 99.5 though 100.5 is good too. I had to set the incubator at 100.5 to get 99.5 inside. The humidity also varies by 1-3 percent according to the separate gauge.
These steps are just the abbreviated steps. The incubator came with instructions that you should follow as it is specific to that incubator brand. It will be more detailed in each step as to what to do and when. There are also online PDFs and forums available to find answers to your questions.
So there you have it on setting up the incubator, you are on your way to hatching your own little fluffy butts!
Look out for future posts on incubation, lockdown period, and hatching day!


Leave a Reply