So you’ve decided to start your backyard flock… now what??? Here is your Chickens 101 course!
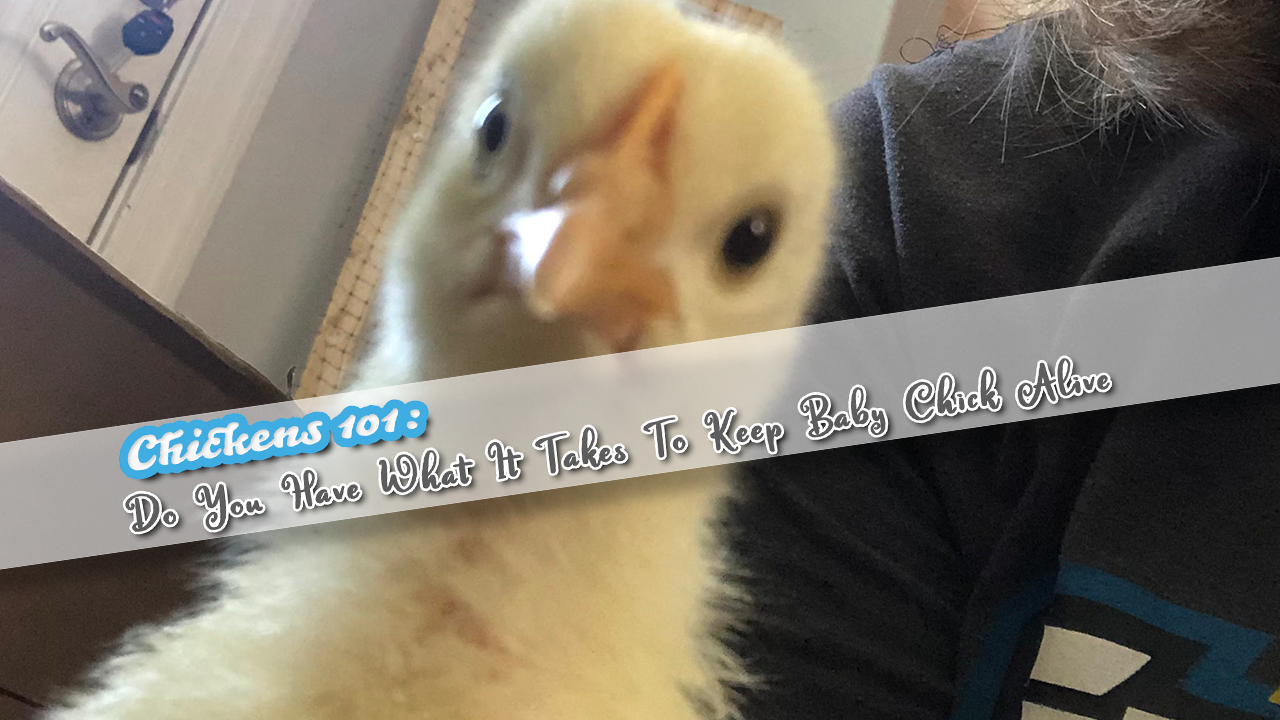
There is so much information out there and much of the information contradicts other information. It can be very confusing. I want to provide you with a simple Chickens 101 checklist that will help you get started with those cute little fluffy butts so that they develop into healthy, happy chickens.
1. Chickens 101: Set up a brooder
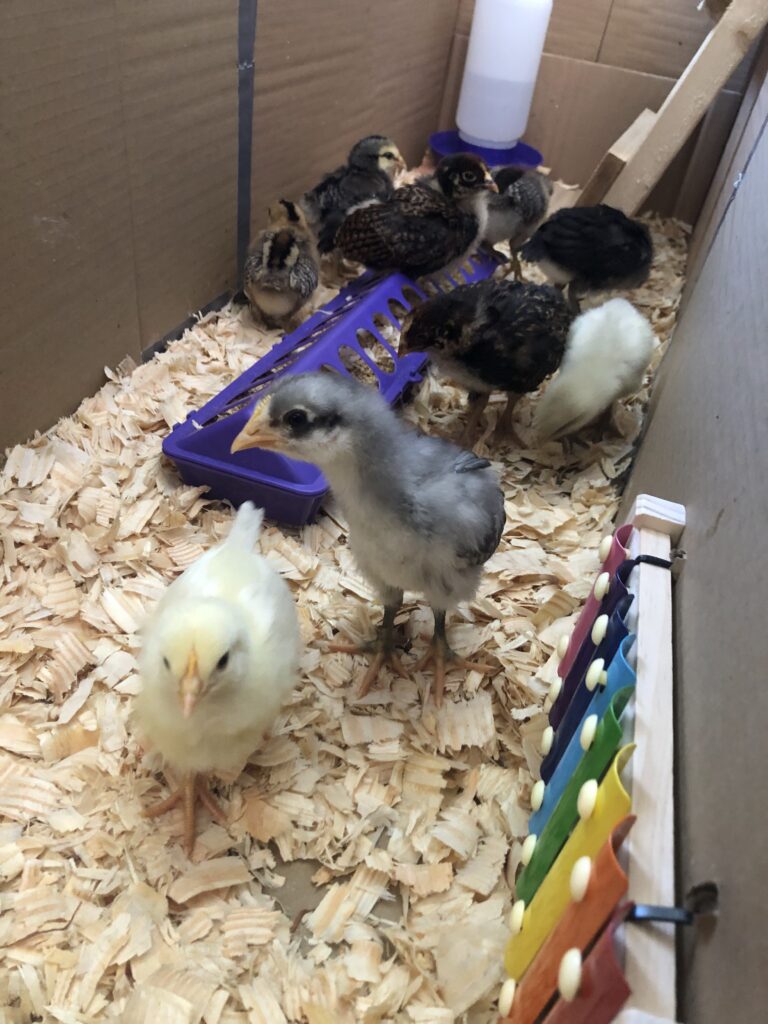
A Brooder is a warm and safe enclosure where the chicks will live during their first few weeks.
It should include the following:
- Brooder box or container: Choose a well-ventilated, sturdy container that is large enough to accommodate the chicks comfortably. This can include a cardboard box, plastic container, dog crate, etc. You will also want a lid of some kind to prevent them from flying out eventually. We made a wood frame to fit the top of the box with a mesh cover.
- Bedding: Line the flooder floor with pine shavings, pine pellets, straw, hemp, or paper towels. Avoid using cedar shavings, as they can be harmful to the chicks.
- Heat source: You can use a heat lamp or a brooder heat plate. I recommend a brooder heat plate as it requires less energy to run, it is safer than a heat lamp, and it provides a place for the chicks to hide and rest. Place it in the corner so they can move away from it if they get too hot.
- Thermometer: Place a thermometer in the brooder to monitor the temperature. Initially, heat starts at 95 degrees Fahrenheit and then gradually decreases by 5 degrees each week.
2. Chickens 101: Provide clean water and food
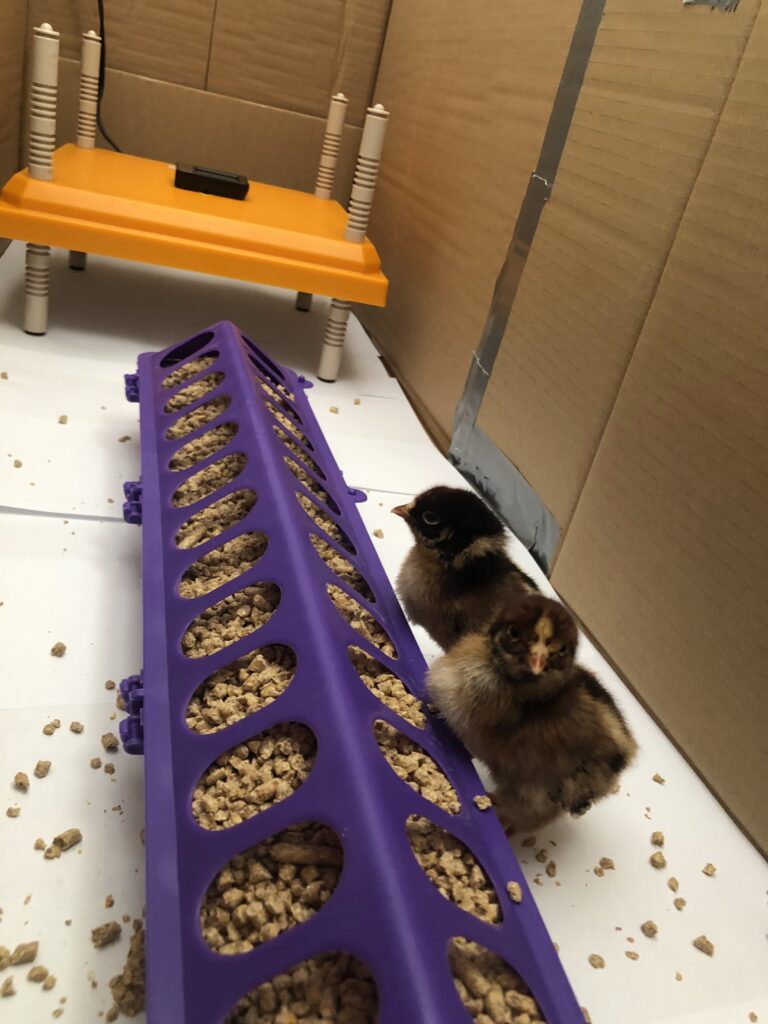
Chicks need access to clean water and chick starter feed 24/7. Use a shallow waterer that they can drink from easily and keep it filled with fresh water at all times. Upon arrival, dip the chick’s beak into the water. This teaches them where to get their water from. For food, choose a high-quality chick starter feed. We used Kalmbach 18% Start Right Chick Feed (Non-GMO, Non-Medicated). You will need a feeder which can be bought at any feed supply or Amazon. Make sure it’s easily accessible to them.
Helpful Tip: Your feeder and waterer may get dirty from them scratching shavings into it. You can place a wood block underneath to elevate them to prevent some of the shavings from getting into the water. Just make sure the chicks can still reach the water and feed.
3. Ensure proper lights
Baby chicks require consistent lighting to establish a day-night cycle. I recommend keeping them in a room with natural lighting so they can establish morning and night routines. They will put themselves to bed at dusk, even when they are little babies, those natural instincts start.
4. Chicken Enrichment
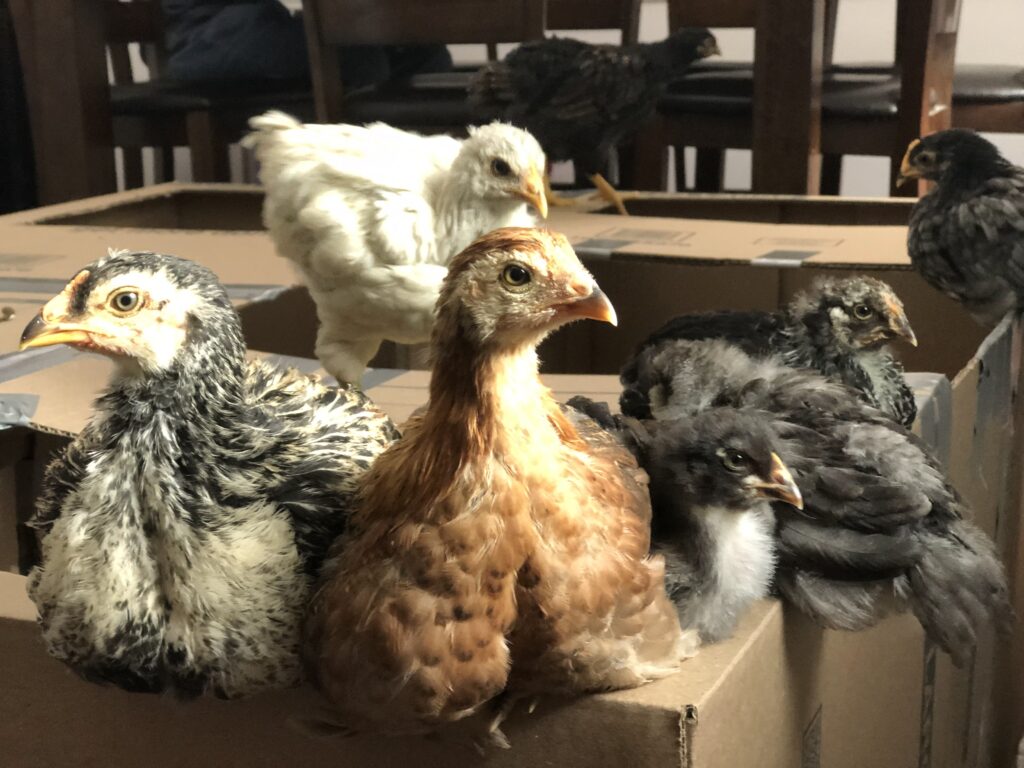
Chicks love to roost, peck, and scratch. They can get bored in the brooder which can lead to aggressive behaviors towards other chicks. Providing them something to roost on and play with can help keep them entertained.
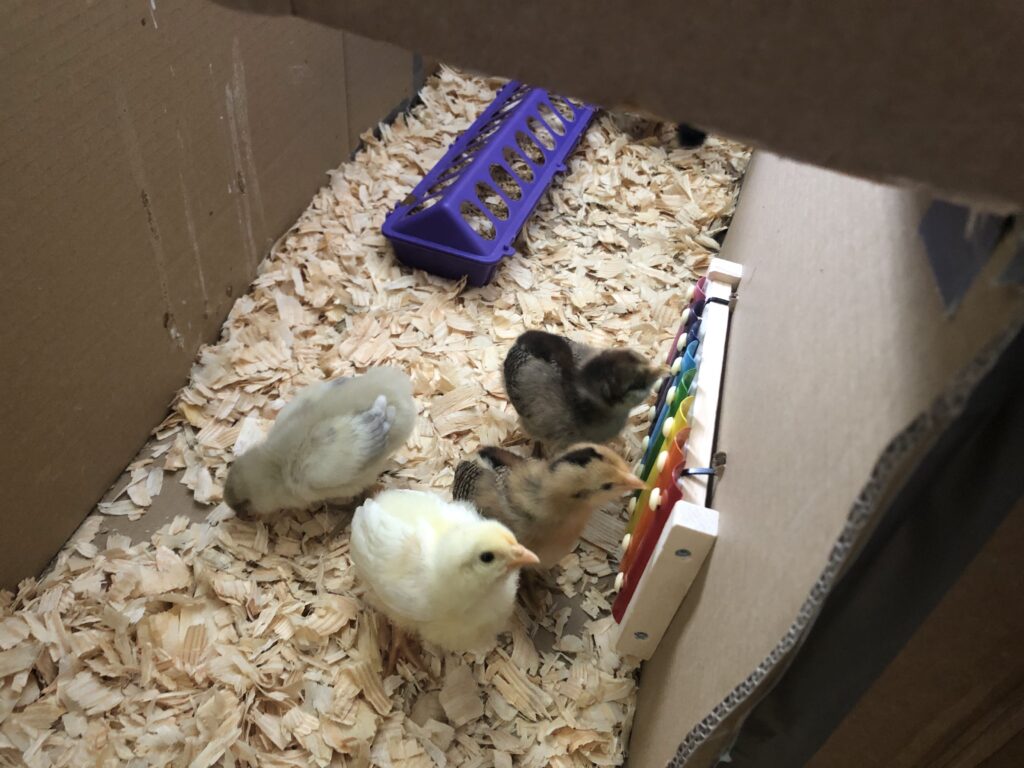
Here are some enrichment examples of what we have used:
- Xylophone
- Hanging bells, toys, and tiny mirrors (chickens like to look at themselves lol)
- Roosting bars or a chicken ladder
- Our chicks liked to roost on top of the heater plate. So if you’re good with poop on it then great. Many of them come with a plexiglass cover to protect the plate itself from getting poop on it which makes it easier to clean up.
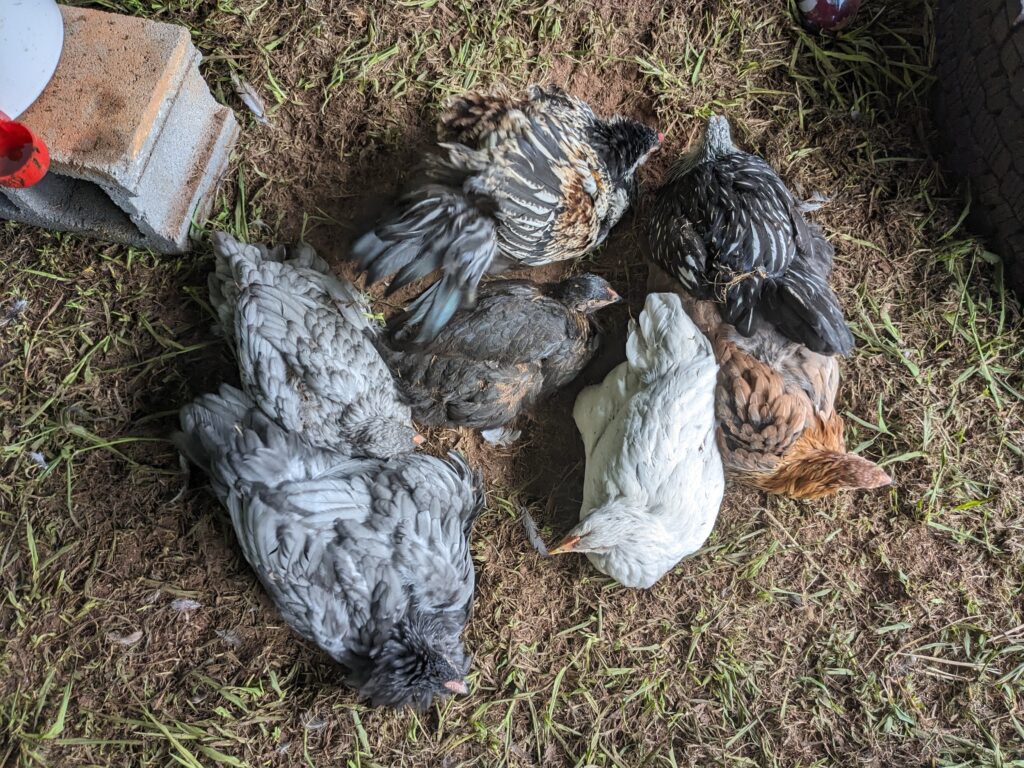
- Bring in outside grass and dirt. Chicks will start to dust bath within one week of hatching. Dust baths are essential for them to get rid of excess oils or any possible insects (lice, mites). This will also build their immune system, getting them ready for your yard.
5. Gradual introduction to the outdoors
When the chicks are a few weeks old and have grown feathers, they can gradually spend time outdoors in a secure, predator-proof coop or pen. Introduce them to the outdoor environment gradually to prevent stress and ensure they are protected.
6. Chick Grit
Provide grit for the chicks once you start introducing outside dirt and grass as well as treats.
Treats: Give the chicks a few weeks to acclimate before introducing treats. Then only do it in moderation. Too many treats can make the chicks diarrheal. We started with cucumber almost mashed and dried black soldier larvae crushed up a little. This helps them peck at it, if it’s too big they can handle it as well.
I hope this helps get you started with your chicken journey. Please keep a lookout for future Chicken 101 posts about what we have learned along the way. Feel free to reach out with questions you’d like addressed!
Congrats to you on starting your backyard flock! We hope our Chickens 101 checklist helps you build your confidence.
Share your favorite Chickens 101 tips and tricks below!
This is part of our Chicken 101 series!


They sure do keep you busy! Good thing you have 5 helpers!
We have 5 incredible helpers indeed!